

Have you unwrapped the gift you wanted from Santa this holiday season?
If a new iPhone or iPad made its way under your tree, chances are your answer is a resounding ‘yes’.
However, as you probably know, there’s a setup process you need to go through before your device is ready for use. Taking your time with this step is crucial to avoid any issues in the future.
For this guide, we’ll be focusing on setting up the iPhone Air. But the process should be similar for any device running iOS 26 or iPadOS 26.
If you received an Android device instead, check out our separate guide on setting up a new Android phone.
How to set up a new iPhone or iPad
Turn on your iPhone or iPad and select your language and region
Anyron Copeman / Foundry
To begin, press and hold the power button on your iPhone or iPad (usually located on the right side or top of the device) until the Apple logo appears.
Swipe up from the bottom of the screen to choose your language. If you’ve chosen English or another language with variations, you’ll then select your region.
Customize text and icon sizes
Anyron Copeman / Foundry
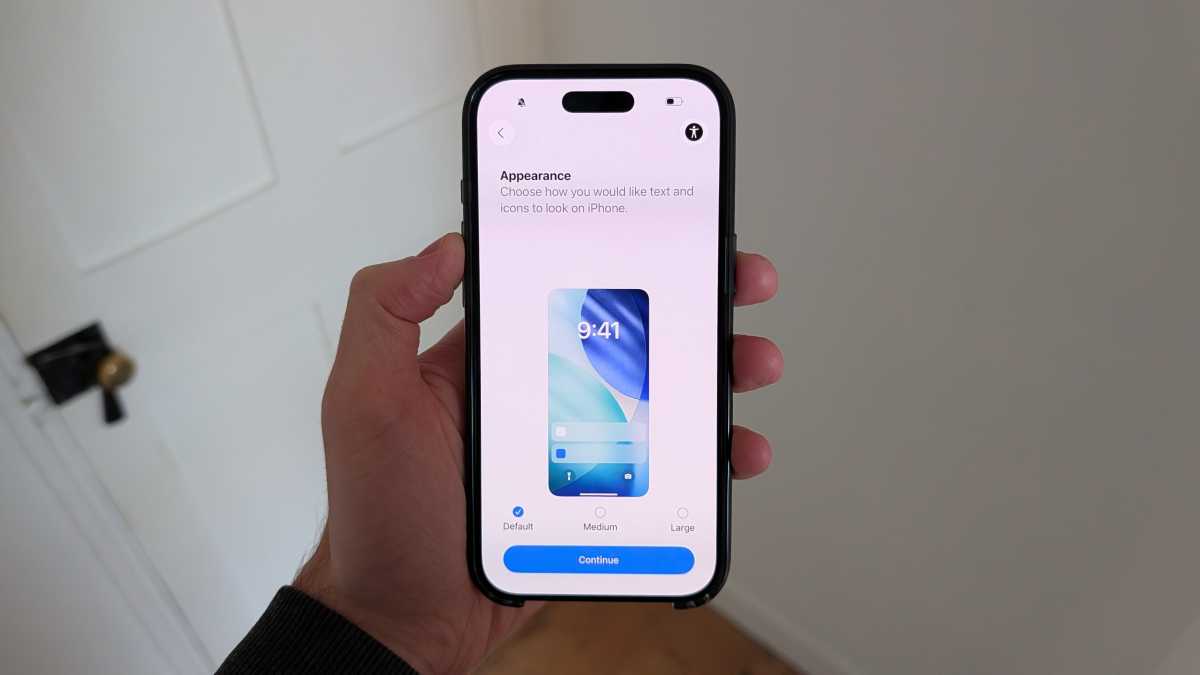
You’ll have the option to choose the size of text and icons on your device. Select from ‘Default’, ‘Medium’, or ‘Large’, with each option previewed upon selection.
Once you’ve found a comfortable setting, tap ‘Continue’ to proceed.
Set up using your existing iPhone or iPad
Anyron Copeman / Foundry
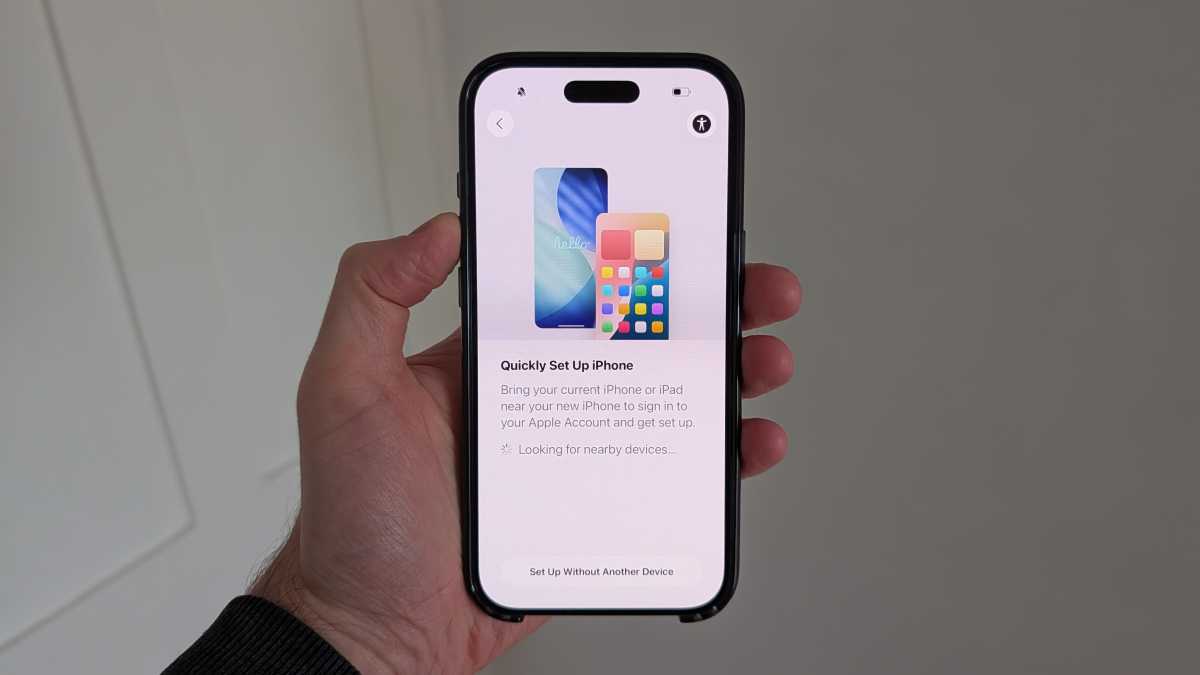
If you already own an iPhone or iPad, you can use it to quickly restore settings and data. Turn it on and bring it close to your new device, and Apple will take care of the rest.
However, if you don’t have another Apple device or prefer to start fresh, simply tap ‘Set Up Without Another Device’. For the following steps, we’ll assume this is the case, but you may be able to skip some steps if you’ve chosen the alternate route.
Select a Wi-Fi network
Anyron Copeman / Foundry
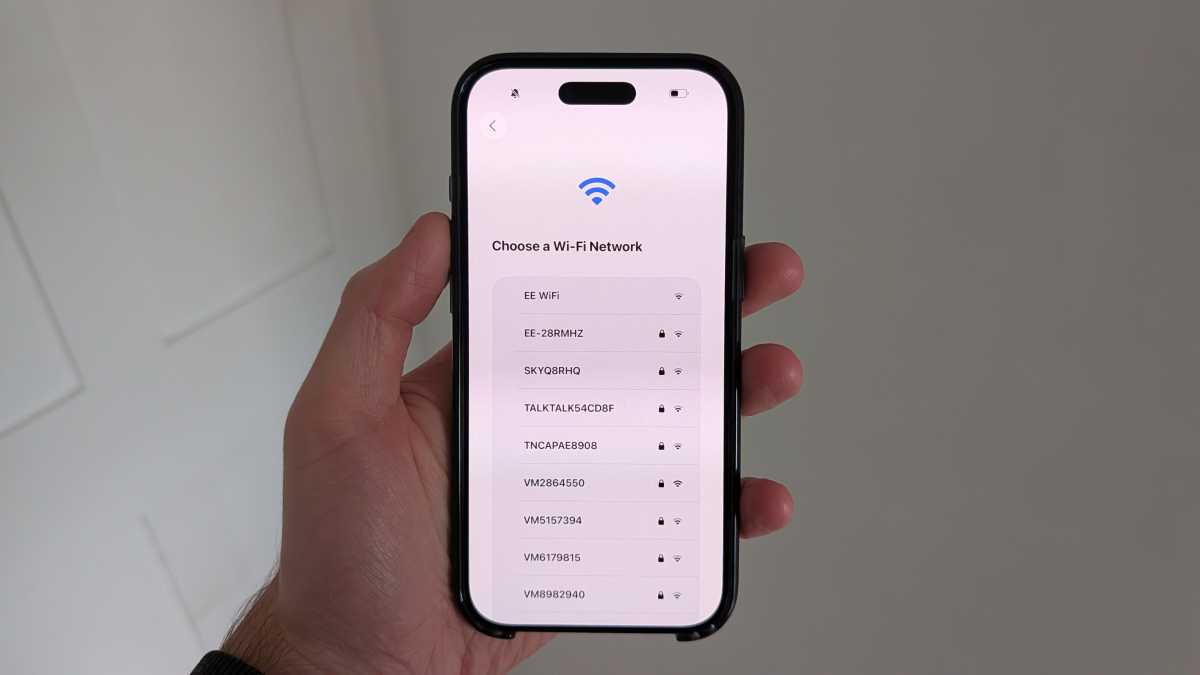
Your device will display a list of nearby Wi-Fi networks. Simply select the one you want to use and enter the password.
If you’ve already inserted a physical SIM card or activated an eSIM, you can also set up using mobile data. In this case, you can choose ‘Continue Without Wi-Fi’.
Having an internet connection during setup makes the process much smoother.
Choose the device user

Anyron Copeman / Foundry
After acknowledging Apple’s ‘Data & Privacy’ information, your next step is to select the device user. Options include Child (12 or under), Teen (13-17), and Adult (18+).
If you choose a Child or Teen, you’ll be asked to connect to a Family account for parental screen time management.
For this guide, we’re setting up for an adult user.
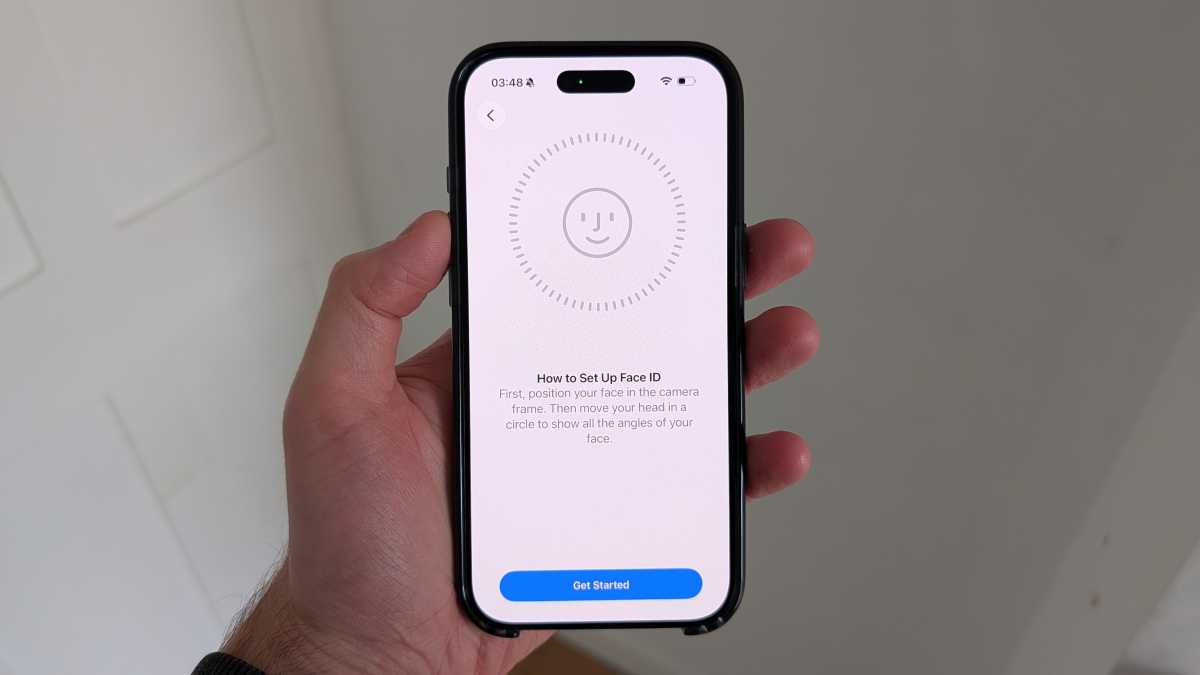
Set up Face ID or Touch ID and create a passcode