


For this guide, we’ll be focusing on setting up an Android device, specifically on a Google Pixel phone. The process may vary slightly depending on your Android handset, but the general steps remain the same.
If you’re an Apple aficionado, check out our guide on setting up a new iPhone or iPad.
So, you’ve got a new phone. Exciting times!
I hope you have a great time with it. If you’ve bought one of the devices in our best budget phones, best mid-range phones or best phones overall guides, you won’t be disappointed.
However, once the initial excitement has worn off, you’ll have to prepare yourself for the setup process. All phones make it very easy these days, but it’s still worth going through the steps one by one.
For the purposes of this tutorial, we’re using Android running on a Google Pixel phone. The method will be very similar, regardless of which Android handset you have, though the order might be slightly different.
Got an Apple device instead? Read how to set up a new iPhone or iPad.
Select a language
Foundry
First of all, your phone will ask you to select a language. This will display throughout the setup process and all the phone’s menus (though it can easily be changed later), so pick the right one!
Here, you can also select vision and voice modes if you require accessibility features to be turned on throughout your use of the phone.
Tap ‘Get started’ to move to the next screen.
Insert your SIM card

Foundry
Here you are prompted to connect to a mobile network. You can do this by putting a SIM card into your phone.
In the packaging, there is likely an ejector tool to put in the SIM slot hole to remove the tray. Most modern smartphones take nano SIM cards, the smallest possible size.
In the UK, all phones must be sold unlocked, so you’re free to use any network or operator’s SIM. However, that’s not the case in the US.
Some phones will allow you to choose to download an eSIM instead. This is an electronic SIM stored on the phone without the need for a physical card. Not all phones will give you this option, so choose your device carefully if this is important to you.
If you don’t have a SIM card or don’t want an eSIM, you can tap ‘Skip’ to set up the phone without a mobile network connection using only Wi-Fi.
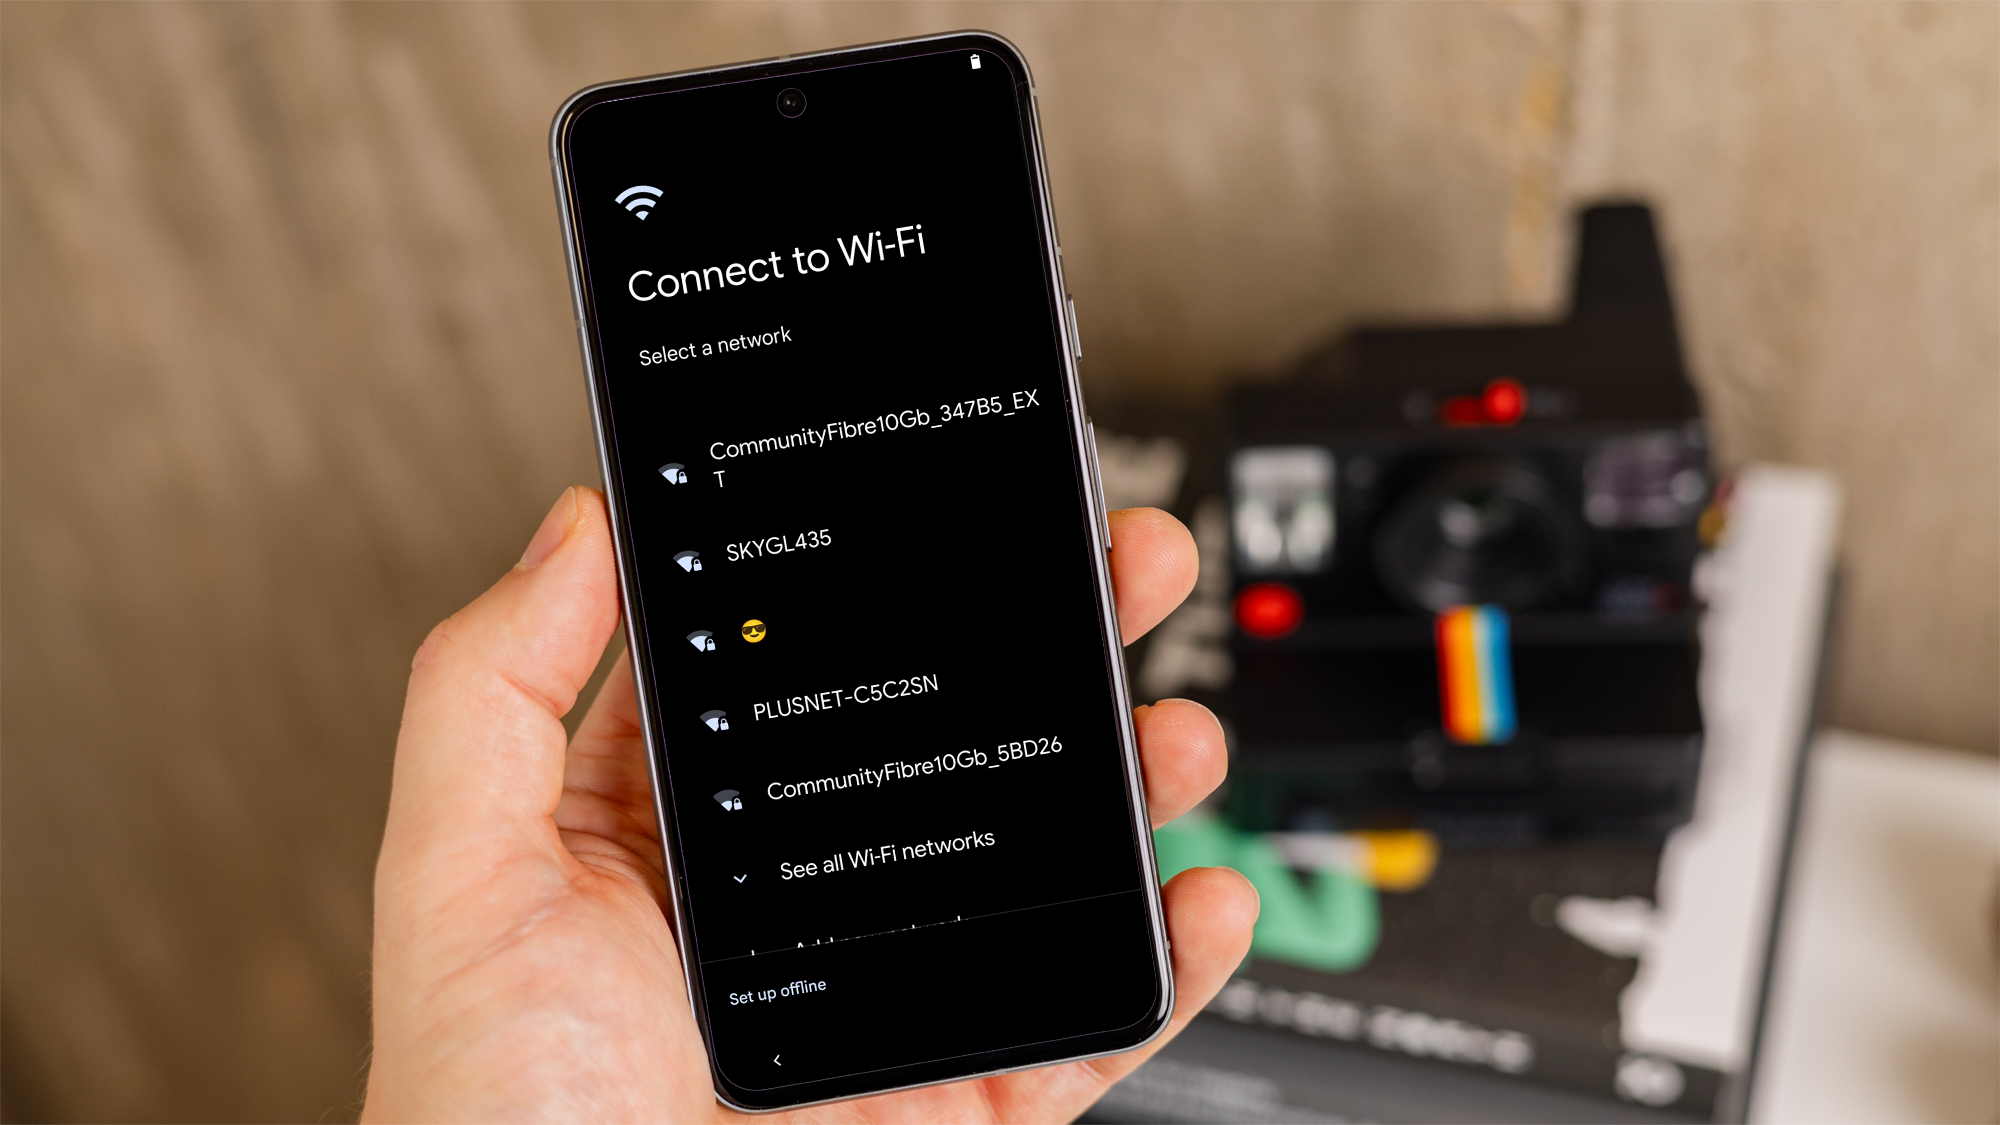
Connect to Wi-Fi
Foundry
If you haven’t already been connected to Wi-Fi automatically, you can do so manually now. It’s worth doing this, especially if you chose not to insert a SIM card earlier, as it’ll make the rest of the setup much easier.
Tap the Wi-Fi network you want to connect to, and then enter the network’s password. If you don’t know it, it can usually be found on the back of the Wi-Fi router.
Your phone will then connect to Wi-Fi and continue to set up.
You can opt to ‘Set up offline’ if you wish, but you won’t be able to log in to your Google account without a mobile data or Wi-Fi connection. This is necessary to download apps and use the phone online.
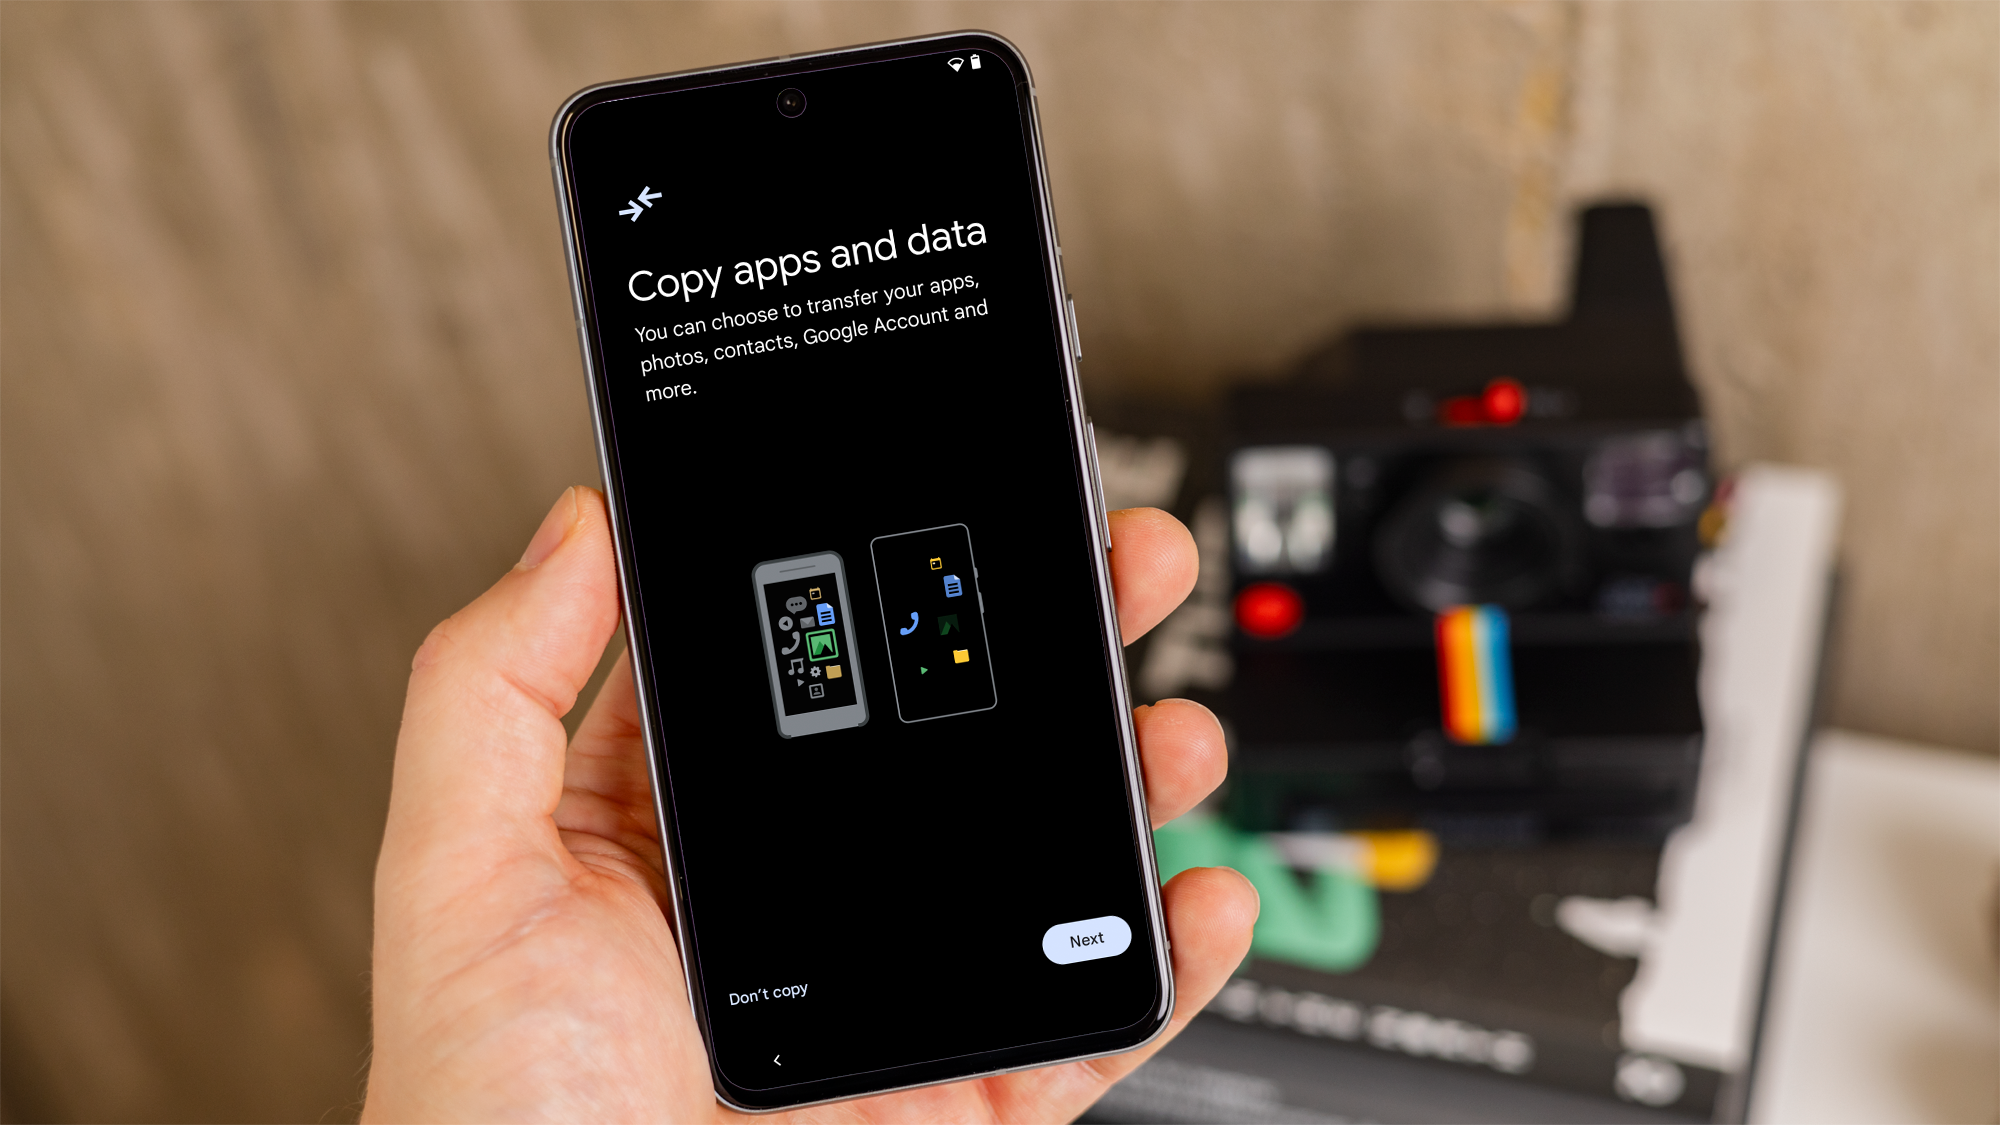
Copy data from your old phone
Foundry
Next, the phone will give you the option to copy apps and data over from your old phone. This includes your Google account, and also data such as text messages, photos, videos, apps, and settings.
You can select ‘Don’t copy’ here if you wish to set up the phone as new with no old data, or ‘Can’t use old device?’ if you do not have access to your old phone.
If you want to copy data, tap ‘Next’.
You can then use your old device to copy over data. The first (and easiest) method is by scanning a QR code to connect the two phones via Bluetooth, but you can usually use a cable if this doesn’t work.
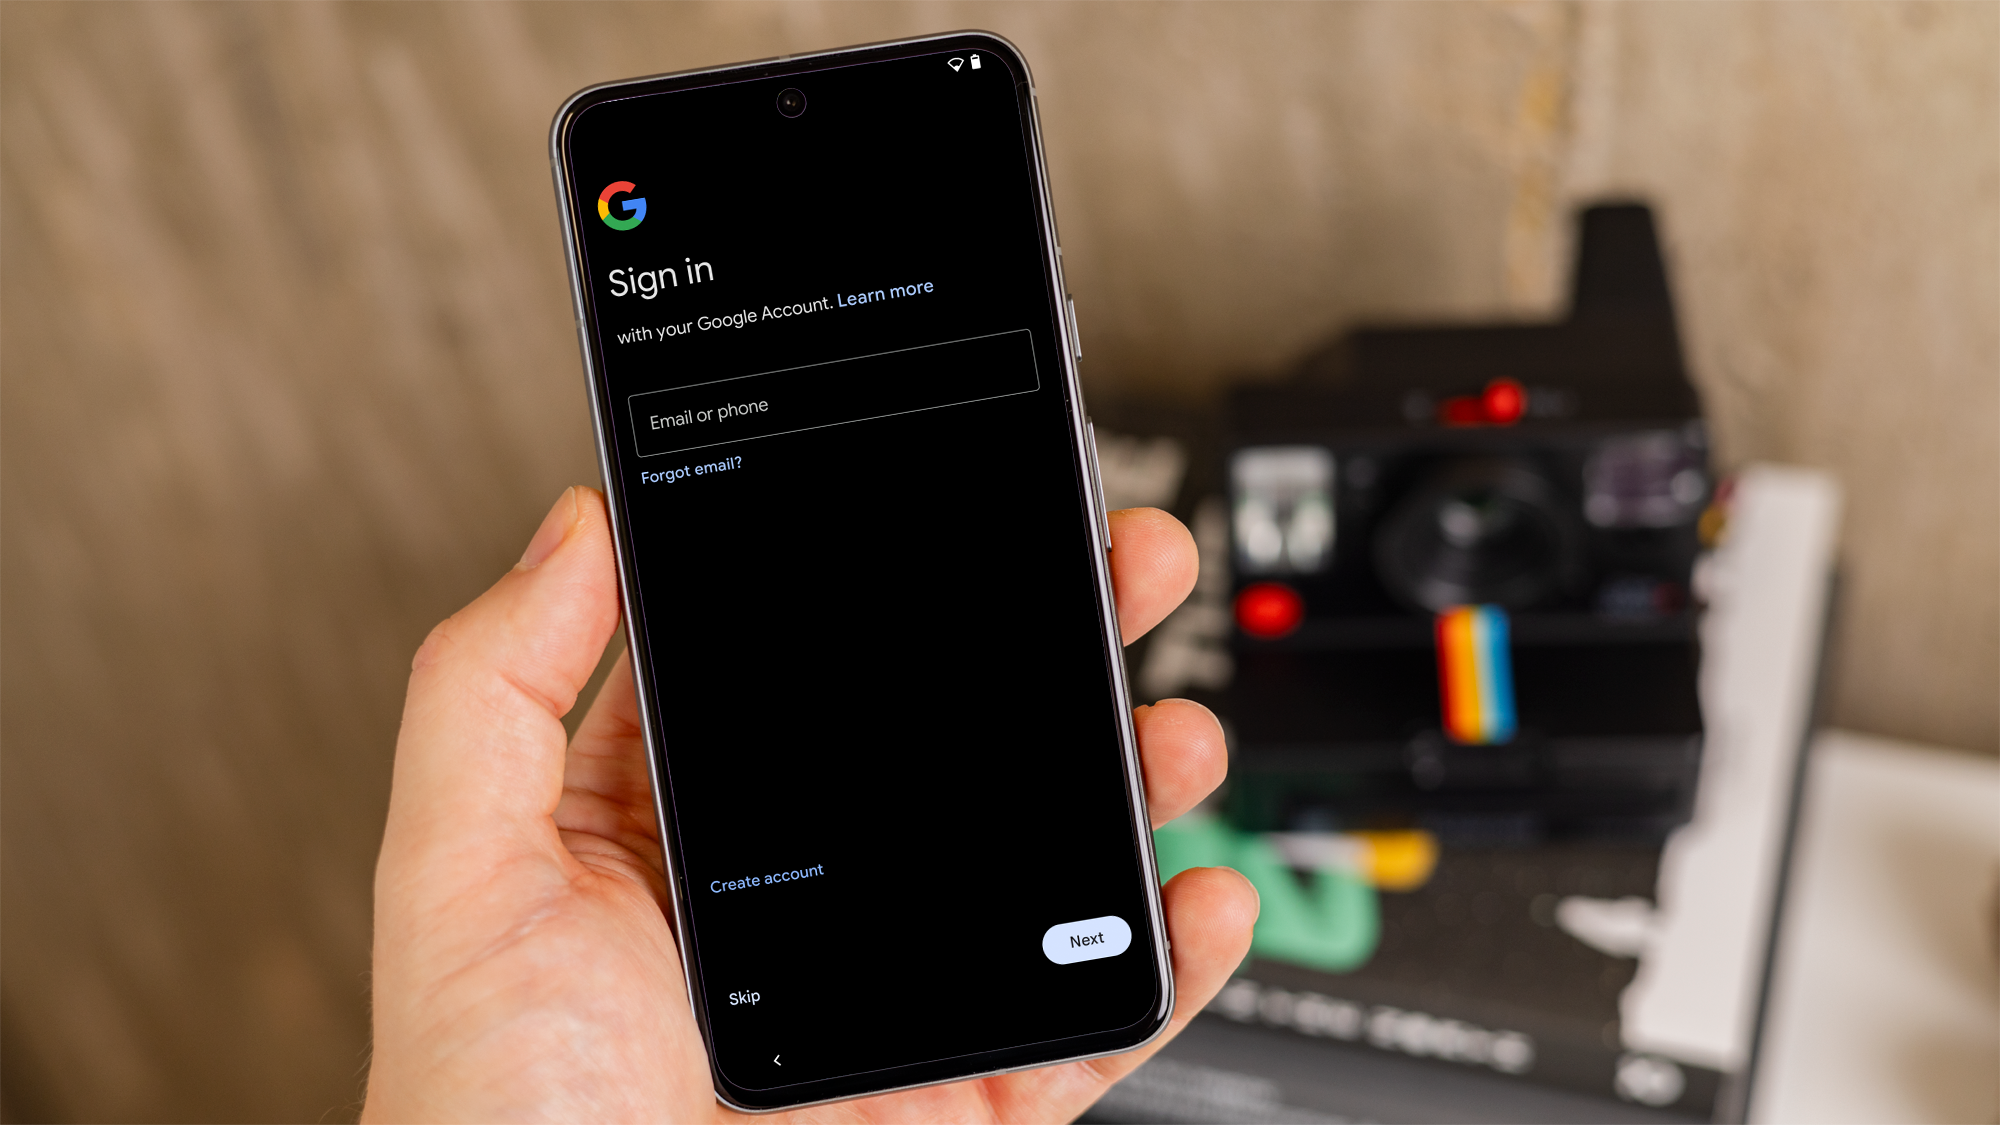
Add your Google account
Foundry

